Version 1.0
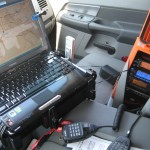
As January 2010 approached I started getting my thoughts together for the ‘go-kit’.
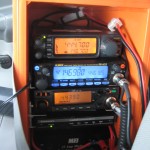
The idea was to have things put together by the Houston Marathon in January 2010. The position I typically worked at the time was the Media Room so having something put together that looked simple and professional was key. I did not want to have something resembling an entanglement of wires. Key parts of the design were as follows:
- Hold two radios, a TNC, a power supply and interconnecting cables
- Easy access to antenna connections from the exterior
- Neat and clean setup without a string of wires to untangle
The ‘go-kit’ served well and proved to be popular with my follow hams. Setup was a straight forward during events as the all in one box required few steps to get it going. It could run off the internal power supply is power was available. It could also quickly switch over to an external supply like a battery or a power umbilical installed in a vehicle.
Version 2.0
Though the theft of 1.0 and the included radios and TNC was not planned, it did present the opportunity to re-think the design some. I made more of a point to photo some of the steps of putting it together so I could better share how others could assemble it. The color changed from orange to green, purely based on available supply at the local Industrial Supply retailer. As this was going to become the 2.0 version there were a few improvements to focus on as follows:
- Labeling the box and radios inside
- Better internal wiring
- Platforms for each radio / device to better secure them & add ease of removal
The Box
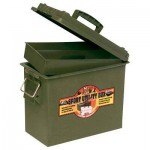 The box is relatively inexpensive ($17-$20?) and available at sporting goods and industrial supply retailers. The box is made by Action Products and is available in several sizes and colors. The box has been found in Orange, Dark Green, and White and I think Brown is available. I have found them at Academy Sports, Northern Tool & Supply, Sears, and others. I used the size that is 7.75″L x 15″W x 11.5″H exterior and is typically the ‘taller’ one that you will find at the retailer. A link to the Northern Tool listing is available HERE.
Preparing the box can be rather time-consuming. The sides of the box are not square and flat and the sides taper in. This is due to how the box is made but doesn’t detract from your use. This makes measuring along the outer edges very interesting. The goal though is to line up the holes for the shelves in the same location on each side.
Marking The Box
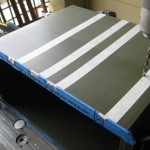
- Run tape along top edge on both sides
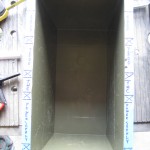
- Collect and arrange the radios and power supply in the box and verify spacing
- You will need 1″ – 1-1/4″ from the top of one radio / device to the next one to allow room for the angle bar shelves & rivets
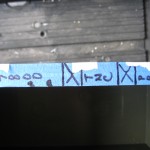
- Mark on tape the location and amount of space needed for the equipment
- Verify markings the same on each side
- Run tape two each side that lines up with markings along the top, use a square to insure parallel to top edge
Drilling Holes
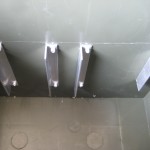
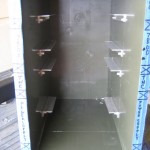
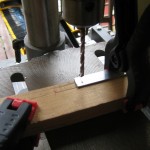 Aluminum angle bar is used as brackets for the equipment or plywood shelves to sit on
- Each bar will be about 3-1/2″ long or as needed for the equipment it will support
- Verify location and depth of the bar inside the box (i.e. how far into the box will the equipment sit – keep in mind room for cables to connect in back)
- Suggest holes for each bar be on 3″ centers or as needed on bar / box
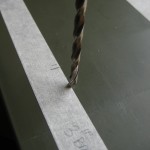
- Drill holes in angle bar first – then box – this way hole spacing will ‘match’ (note each bar will have unique spacing)
- Attach one side bar – then verify ‘height’ of bar on other side will be same ‘height’ adjust as needed before drilling holes on other side of box (holes in bar already drilled)
Coax Holes
- lkjlkjlkjlkj
Labeling
- lkjlkjlkjlkj
Wiring Harness
- lkjhljhlkjhlkjh
Additional thoughts.

